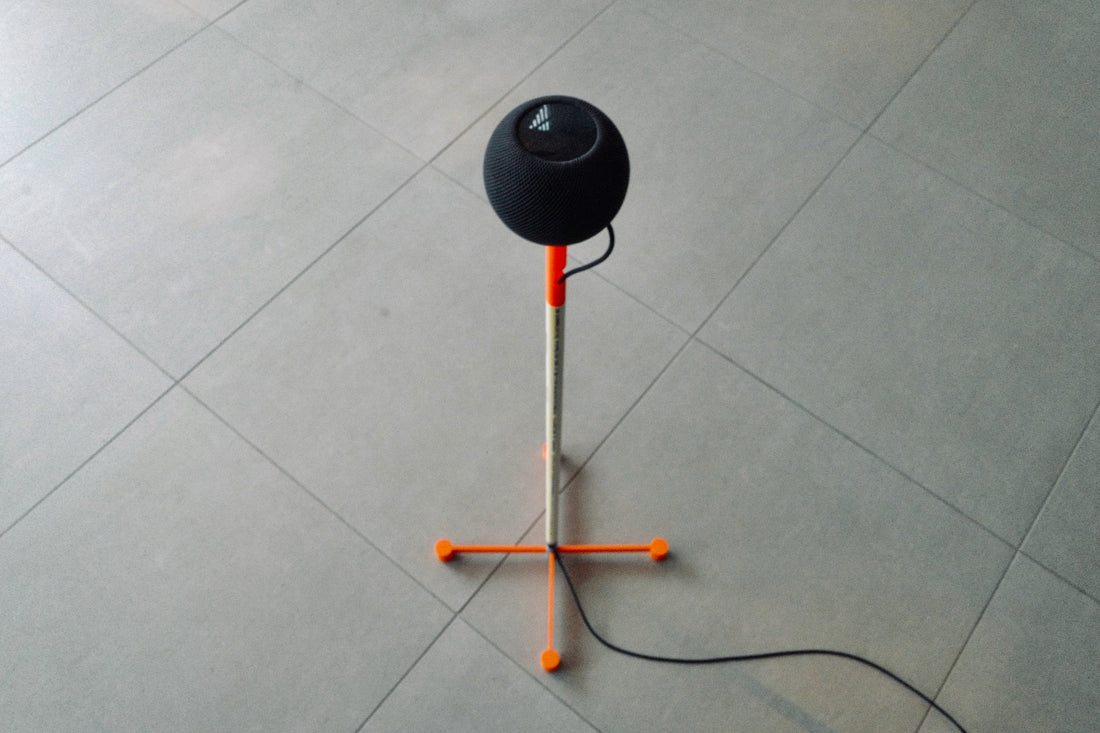
You can make magic out of plastic.
In case you’ve never experienced it, 3D printers convert spools of plastic filament into three-dimensional shapes by printing them one layer at a time. A shape drawn on a computer can be sliced by a piece of software called a slicer so the 3D printer knows exactly what shape and thickness to make each layer. A complete stack of layers results in the part drawn on the computer.
DIY and customize
The NoBox Homepod Stand makes a great 3D printer project because you can make your stand in any color you want with just a few parts from the hardware store and the 3D printed files we’re sharing with our community.
By slightly adapting our design for steel, now it can be 3D printed instead of being fabricated out of metal. A 3D printed stand won’t be as strong as a steel one, but it will be sturdy, relatively inexpensive, and could be a rewarding maker experience.
How to make your Homepod mini stand
Hardware Store Parts
Here are the four parts you will need to complete your NoBox 3D Homepod Mini Stand project. We’ve included the Home Depot part numbers in case that’s helpful.
- #8-32 x 1-1/2in screw, HD Model# 803501
- #8-32 nut, HD Model# 32001
- ½” CVPC pipe, pre-cut to 2’, HD Model# CTS 12005 0200R
- Double-sided tape, HD Model# 214DC-SF
3D Printed Parts
- Pedestal
- Hub
- Washer
- Feet, 4
Downloading 3D printer files
Homepod mini StandTips and reminders for 3D printing and assembly
Printing
Print the parts in the recommended orientations (see image below). This should save you from having to use supporting material, which makes it a whole lot easier to clean up.

We have tested the parts on a Prusa Mini+ in PLA and PETG. They work well at 0.25mm draft resolution and finer resolutions. We used 20% fill and a brim to keep the parts secured to the plate during printing.
Assembly
Once you've printed the parts, it’s time to start building your 3D printed HomePod stand.
You may need to square up the ends of the piece of PVC you buy at the hardware store. This can be done with a bit of sandpaper.
Follow the diagram below to make sure you assemble things correctly.

We used a few pieces of the double-sided tape on top of the pedestal to secure the Homepod mini. We move our stand gently from place to place and the mini has stayed on, but we do recommend being careful. If you want a more permanent solution, you could glue your Mini to your stand.
Threading the cable through the throat of the ends may be a little difficult, but it should fit with a bit of work.
Thanks for trying our our design
We hope it gave you some insight into what it takes to put together one of our products and becomes cool maker project to share with your friends.
Make it and share it
If you make a Homepod Mini stand, please share it. Tag @playwithnobox or #playwithnobox on IG or Facebook.


